
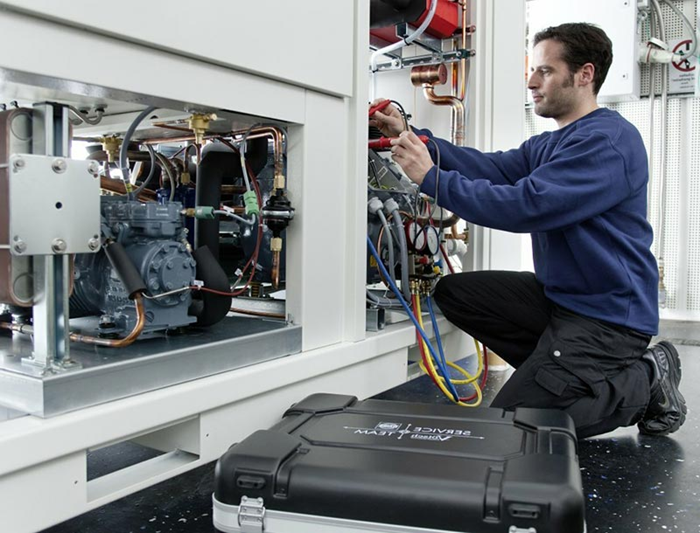
Installing commercial refrigeration equipment is a key step, determining temperature stability, energy efficiency, and the equipment’s service life.
Proper installation begins with assessing the room, including the load-bearing capacity of the floor, ventilation, ambient temperature, access to service areas, and electrical system compliance with manufacturer requirements.
To avoid common mistakes, it is important to follow recommendations for unit and line placement, properly connect power and automation, and conduct mandatory leak tests and a test run. More information on installation is available on the https://www.coldcommercial.com/
Site preparation: checking the load-bearing capacity of the floor and mounting points.
Before installing commercial refrigeration equipment, it is important to ensure that the site can support not only the weight of the unit itself but also operational loads: product loading, compressor operation, movement of trolleys, and possible vibrations. Errors at this stage lead to frame distortion, accelerated wear of fasteners, and cracks in the foundation.
The floor and mounting points should be inspected before delivery and unpacking of the equipment to allow time to reinforce the foundation or relocate the installation site if necessary. Particular attention should be paid to areas where loads are concentrated—under the supports, frame, and posts, as well as where condenser units, protective barriers, and guides are attached.
Checking the Load-Bearing Capacity of the Floor
First, determine the type of foundation: monolithic slab, screed over insulation, floor over beams, technical flooring, and the presence of voids and utility ducts under the floor. It’s not enough to rely solely on the “thickness of the screed”—the floor structure, concrete grade, reinforcement condition, and actual strength are all important, especially in older buildings or after renovations.
The load is assessed based on distribution: point loads from supports are often more dangerous than uniform loads. For equipment on legs or castors, foot pads, distribution plates, or frames are provided to reduce the load per unit area. If anchor fastenings are planned in the floor, check the thickness of the supporting layer in advance, ensure that they do not penetrate hidden utilities, and specify the permissible drilling depth.
- Determine the estimated weight of the equipment, including the product, ice, brine/refrigerant in the pipelines, and additional modules.
- Check the condition of the foundation: cracks, delamination, voids, screed “bulging,” traces of moisture and corrosion.
- Evaluate the load application points: the number of supports, their area, the presence of vibration isolators, and the need for distribution elements.
- Consider operational impacts: vibration, impact loads during maintenance, and movement across the site.
Checking the fastening points and preparing for installation
The fastening points (wall, ceiling, frame, embedded parts, brackets) must be compatible with the foundation material and the calculated loads. For brick, aerated concrete, and hollow blocks, specialized fasteners are selected and, if necessary, the area is reinforced with a mounting plate or anchor. For concrete, the quality of the anchorage area is assessed: absence of cracks, sufficient thickness, correct distance to the edge, and between anchors.
Before drilling, mark the area using installation drawings and the actual dimensions of the equipment, checking the vertical and horizontal planes to avoid distortion and load redistribution. In areas where vibration isolation is important, fasteners should not “short-circuit” the vibration isolation system: use suitable bushings and dampers, and follow the manufacturer’s tightening torque recommendations.
- Compare the design with the actual structure: presence of embedded parts, reinforcements, utility penetrations, and maintenance access.
- Select fasteners based on the substrate: anchor/dowel type, length, strength class, and permissible loads.
- Check the geometry: evenness of the site, differences in elevation, and level control in several directions.
- Prepare reinforcement if necessary: distribution plates, frames, additional supports, reinforcement of the wall/ceiling section.
- Record the results: marked fastening points, drilling depths, and load limits for the installation team.